How To Draw A Lizard For Kids
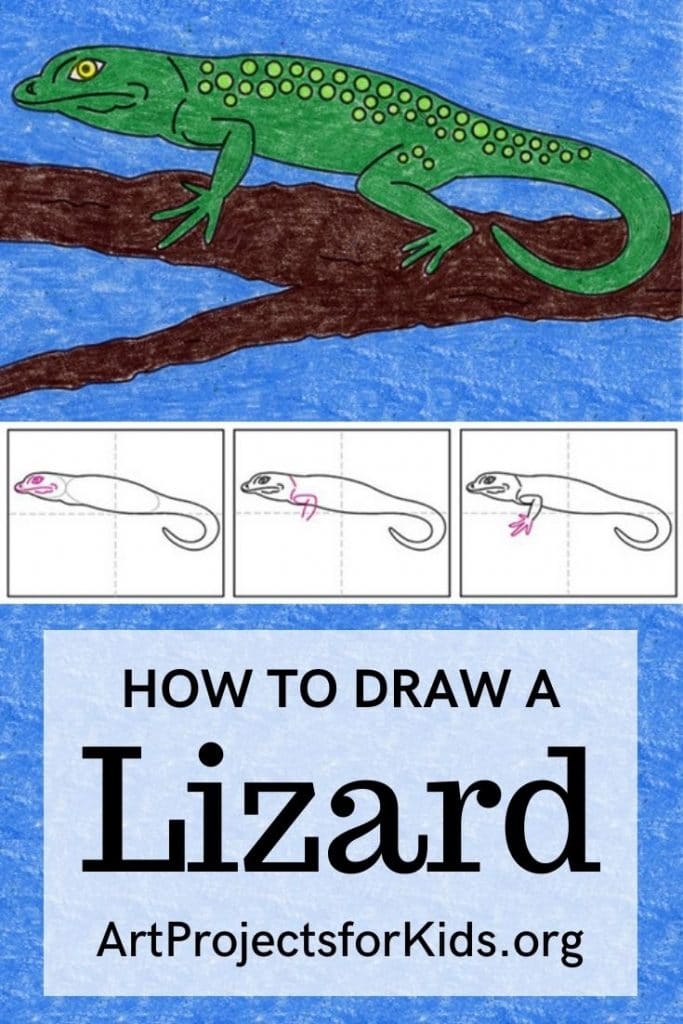
Learn how to a lizard, with all its lizard details. The head, legs and tail get easier to draw when you take it one step at a time.
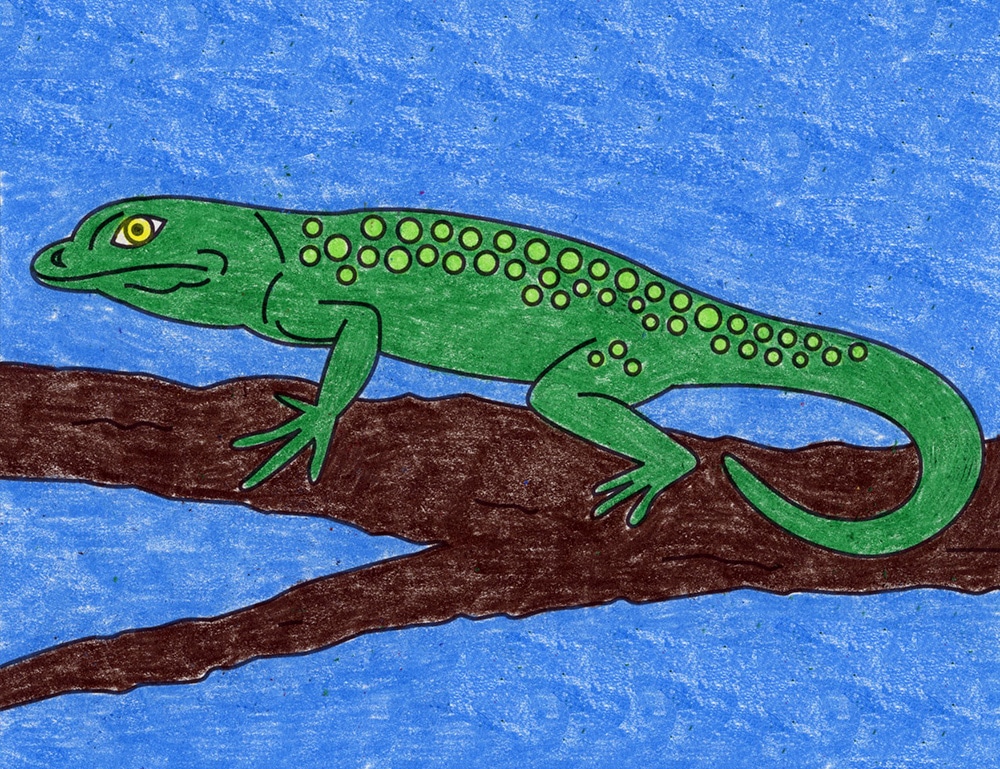
There are about 3800 lizard species found all over the globe. They come in all colors and sizes, but every one of them does have four legs and a tapered tail. One of the more interesting things about lizards is that they can detach that tail, if need be, to get out of danger. That's a pretty cool defense mechanism.
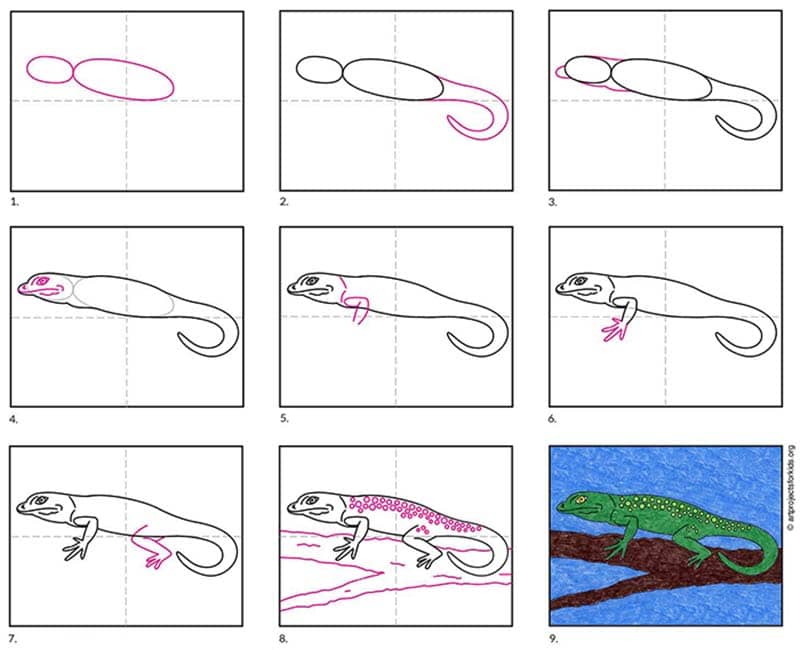
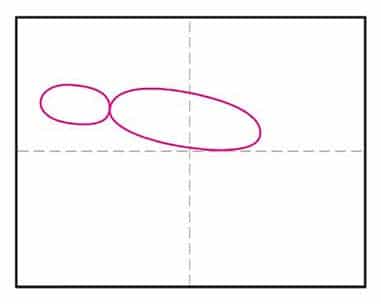
This tutorial is designed to show students how to draw a pretty realistic-looking lizard. By starting with a long oval for the body, and a short one for the head, the basic body shape will be off to a good start. Remind students to sketch lightly so those ovals can be easily erased once they are done. Lizards have an unusual profile, with lots of rounded connecting body parts, so beginning with some very simple shapes will ensure that the lizard fills the page, by the time the drawing is done.
Use the Button below to Download a PDF Tutorial
Materials for How to Draw a Lizard
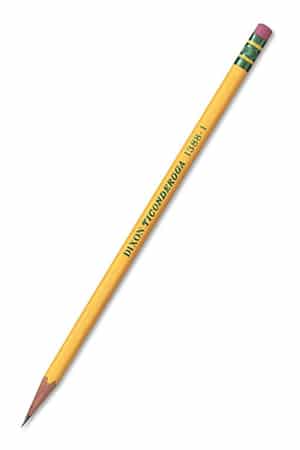
- Pencil. The Ticonderoga brand are the most reliable, make nice dark lines when you need them, and are the easiest to erase. Buying the pre-sharpened ones will save busy teachers a lot of time.
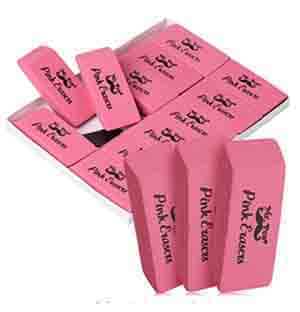
- Eraser. Large ones you can hold in your hand do a much better job than just the pencil tip erasers, especially when erasing leftover pencil lines after tracing.
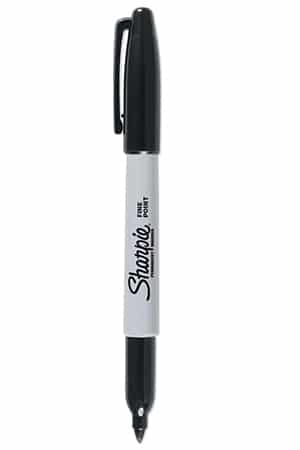
- Black Sharpie Marker. These fine point permanent marker pens make nice black outlines, have a good tip for coloring, and never bleed when they get wet. Use them with good ventilation and add extra paper underneath to protect your tables.
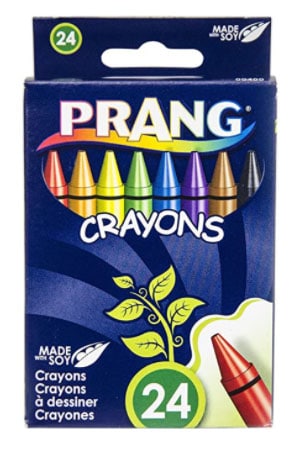
- Prang Crayons. These are a bit softer than other crayons so they sometimes look like oil pastels. They also have a some nice brown shades that Crayola does not have unless you buy their larger boxes.
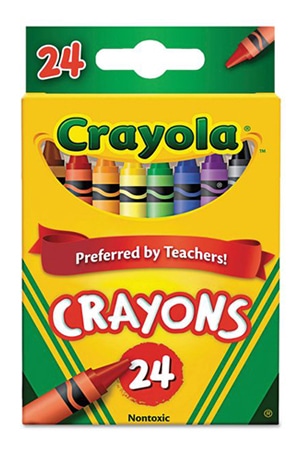
- Crayola Crayons. The reliable brand that always works well. The 24 pack has some of my favorite golden orange and yellow colors that seem a bit richer and warmer than the ones Prang has.
Directions for How to Draw a Lizard Step by Step
Time needed:45 minutes.
How to Draw a Lizard
- Draw a large and small oval as shown.
- Add a tail.
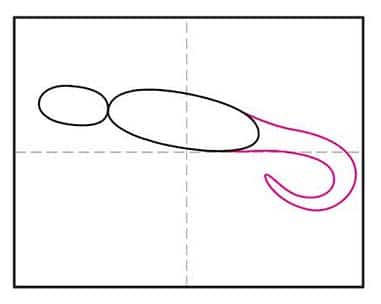
- Connect the head to the body and add a mouth.
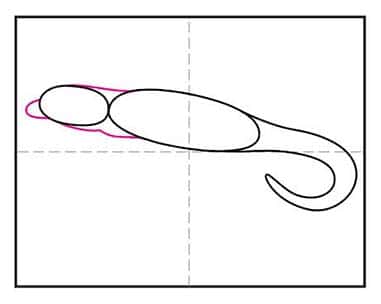
- Erase the inside ovals and draw the face.
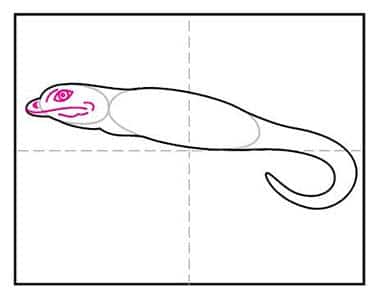
- Add skin lines and start the arm.
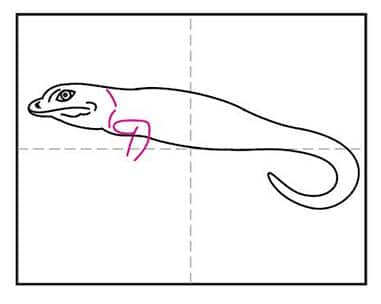
- Draw a hand with fingers and erase inside line.
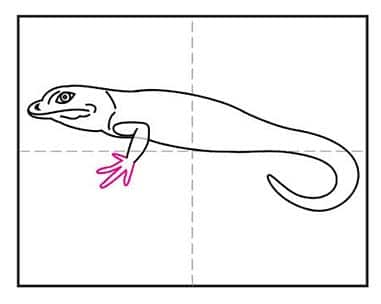
- Add the back leg with toes.
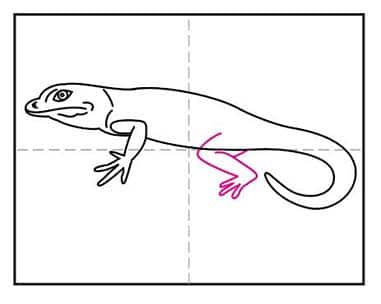
- Erase the line and add spots and draw a branch.
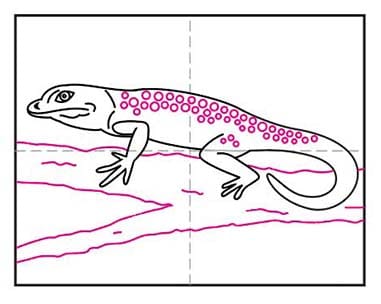
- Trace the drawing with a marker and color.
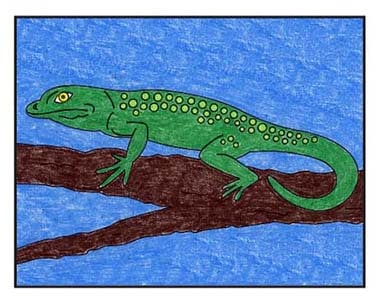
More Fun Things to Draw
How To Draw A Lizard For Kids
Source: https://artprojectsforkids.org/how-to-draw-a-lizard/
Posted by: hubbardandome.blogspot.com

0 Response to "How To Draw A Lizard For Kids"
Post a Comment